Fixing the Side Cameras on Our Tiffin Motorhome
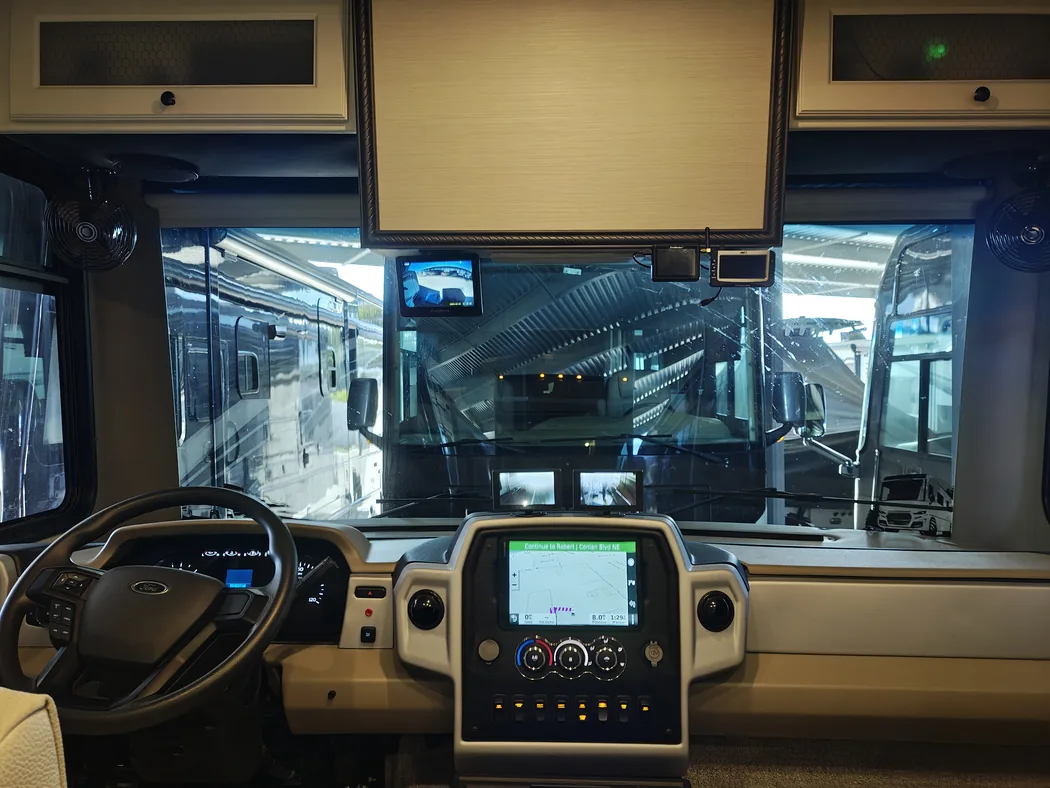
Our Tiffin motorhome came with cameras mounted on the side mirrors that allow you to look down the sides of the motorhome while driving. The idea is to make sure the lane next to you is clear before changing lanes.
That's a good idea, but in my opinion it was very poorly implemented.
I decided to do something about it.
The Challenge
There were four things about the original design that bothered me.
1. The cameras are only visible when the blinkers are on
This is terrible. If I want to see whether there's another vehicle beside me, I have to turn on my blinker. But I might not have decided to change lanes yet. I just want to see what's there!
2. The camera display replaces the navigation display
When you turn on a blinker, the Garmin navigation display switches to the corresponding side camera.
Think about that. You're probably most likely to use your blinkers when you're approaching a turn or exit. That's exactly when you need your navigation system!
So now I can see what's beside me, but I might miss my turn. Not a great tradeoff.
3. The RCA connections are difficult to reach
The cameras connect to the back of the Garmin through RCA video connectors. They're difficult to reach and occasionally come loose from vibration. When that happens, the cameras stop working and I have to get behind the Garmin to reseat the connections.
4. The Garmin is in the wrong place for this
The Garmin is mounted low and to the right of the driver. When I'm changing lanes, I really don't want to take my eyes off the windshield and look down and to the right just to see what's beside me.
My Original Design
If you read my earlier blog about replacing the rear camera on our Tiffin, you know that I removed the TV that used to be mounted high between the pilot and co-pilot. I'm sorry, but that was just weird.
Anyway, I mounted the rear camera display under that cabinet, approximately where a rearview mirror would be in a car. The TPMS monitors are also mounted under that cabinet, closer to the co-pilot.
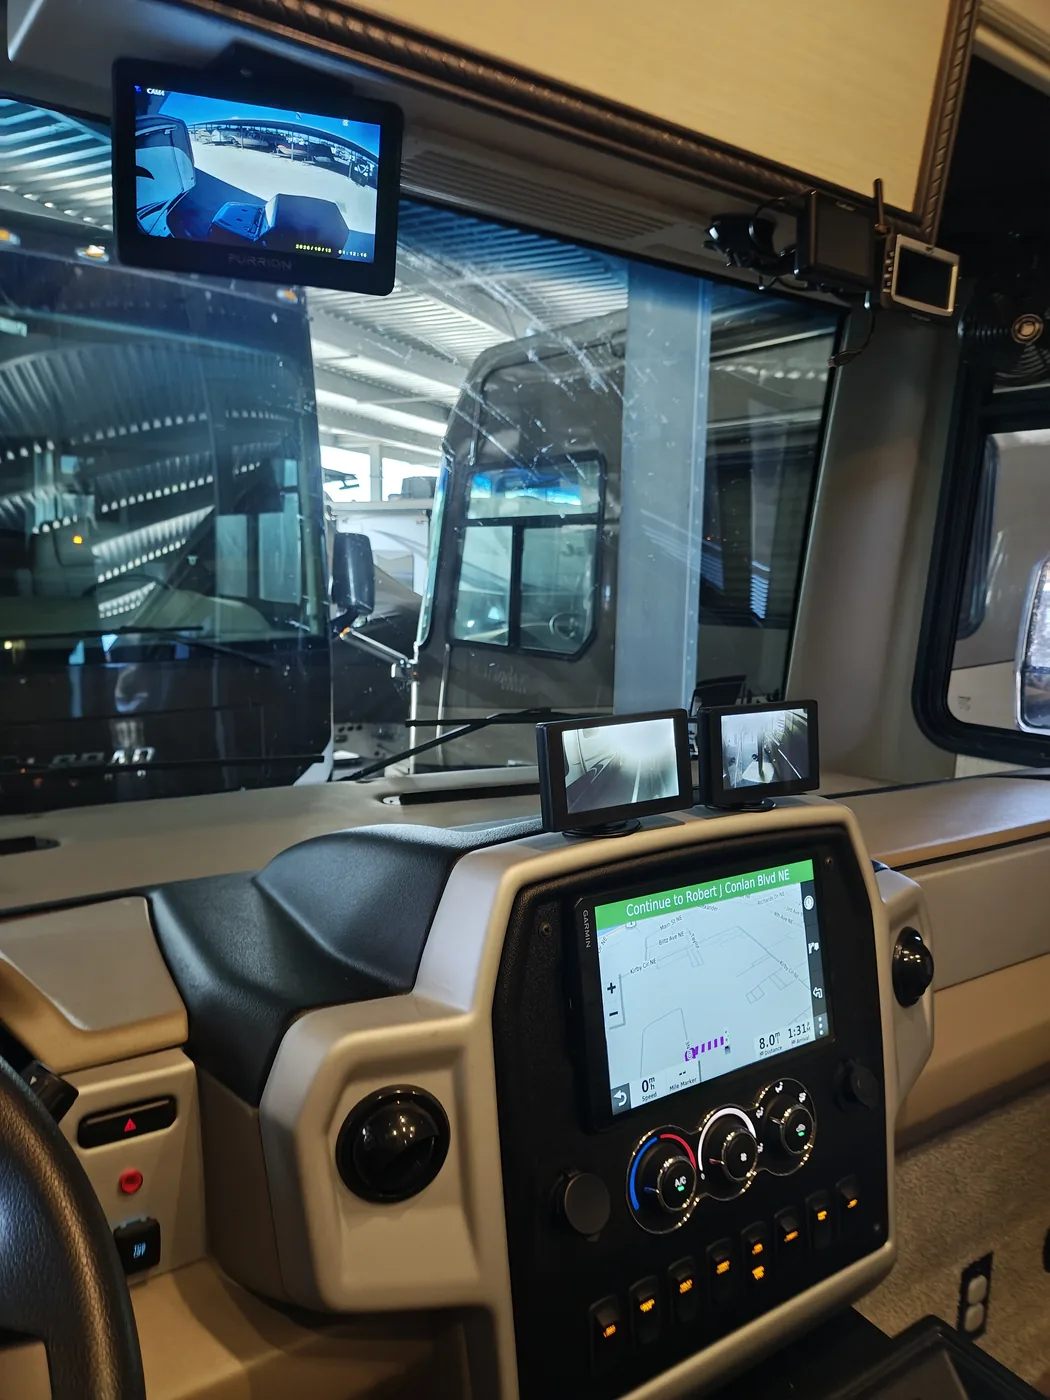
My original idea was to mount two more monitors under that cabinet, one for each side camera. I wanted the video signals to be wireless and the monitors to use the same 110V power source as the rear camera and TPMS monitors.
For each side, the design looked something like this:
Side camera → NTSC RCA video → wireless transmitter → wireless receiver → NTSC RCA video → 4.3-inch color monitor
The transmitter would be powered by ignition-switched 12V behind the dash, and the monitor and wireless receiver would use adapters plugged into the 110V outlets in the overhead cabinet.
I put that on paper and WOW! That's a lot of complexity for something that should be pretty simple.
I also realized that the monitors wouldn't really be ignition switched. They would remain powered whenever their switches were on and the inverter was supplying power to the outlets.
More components, more wiring, more power connections, more things to go wrong, and more money.
A Better Idea
I needed to solve my four original problems, but I wanted something simpler and less expensive.
Sometimes improving a design means removing components rather than adding them.
The most complicated part of my original design was the wireless connection and all the power requirements that came with it.
Then I realized something. I didn't really need to mount the monitors under the overhead cabinet.
There was a nice spot right on the dashboard, above the Garmin navigation and entertainment system. The monitors would be easy to see, and the existing camera cables were already right there.
Once I accepted that, the whole problem collapsed down to something much simpler.
Side camera → NTSC RCA video → 4.3-inch color monitor powered by 12V from inside the dash.
No wireless transmitters. No wireless receivers. No additional AC adapters. No running wires up to the overhead cabinet.
Just two monitors connected directly to the existing camera cables and powered from inside the dash.
Finding Power
The next challenge was finding a suitable 12V power source inside the dashboard.
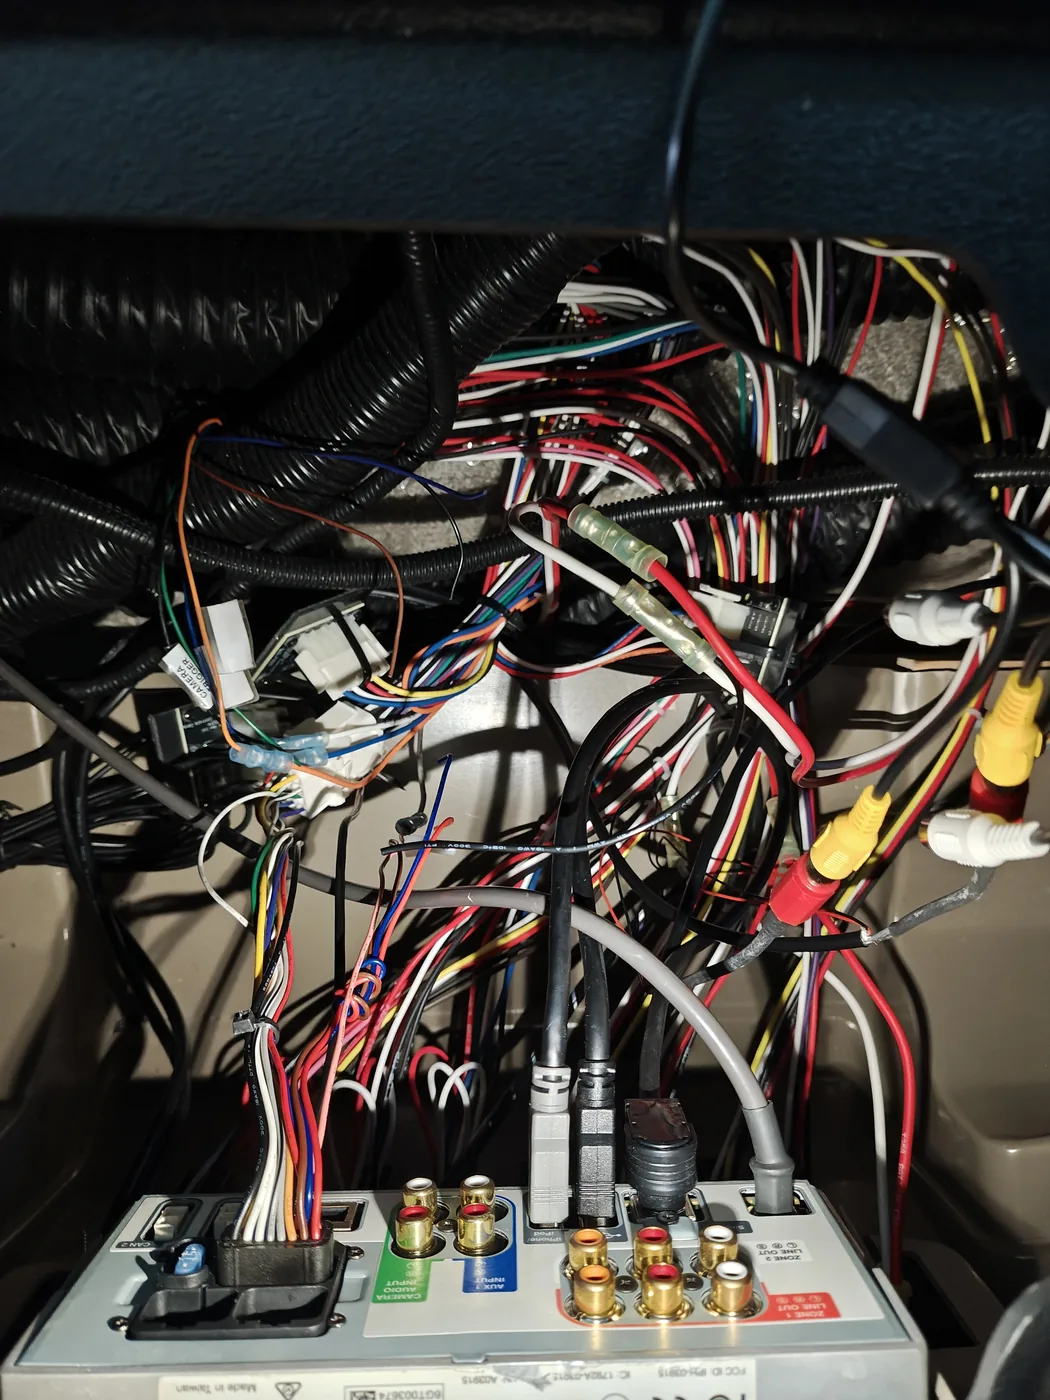
I really didn't want to start tracing wires through that rat's nest!
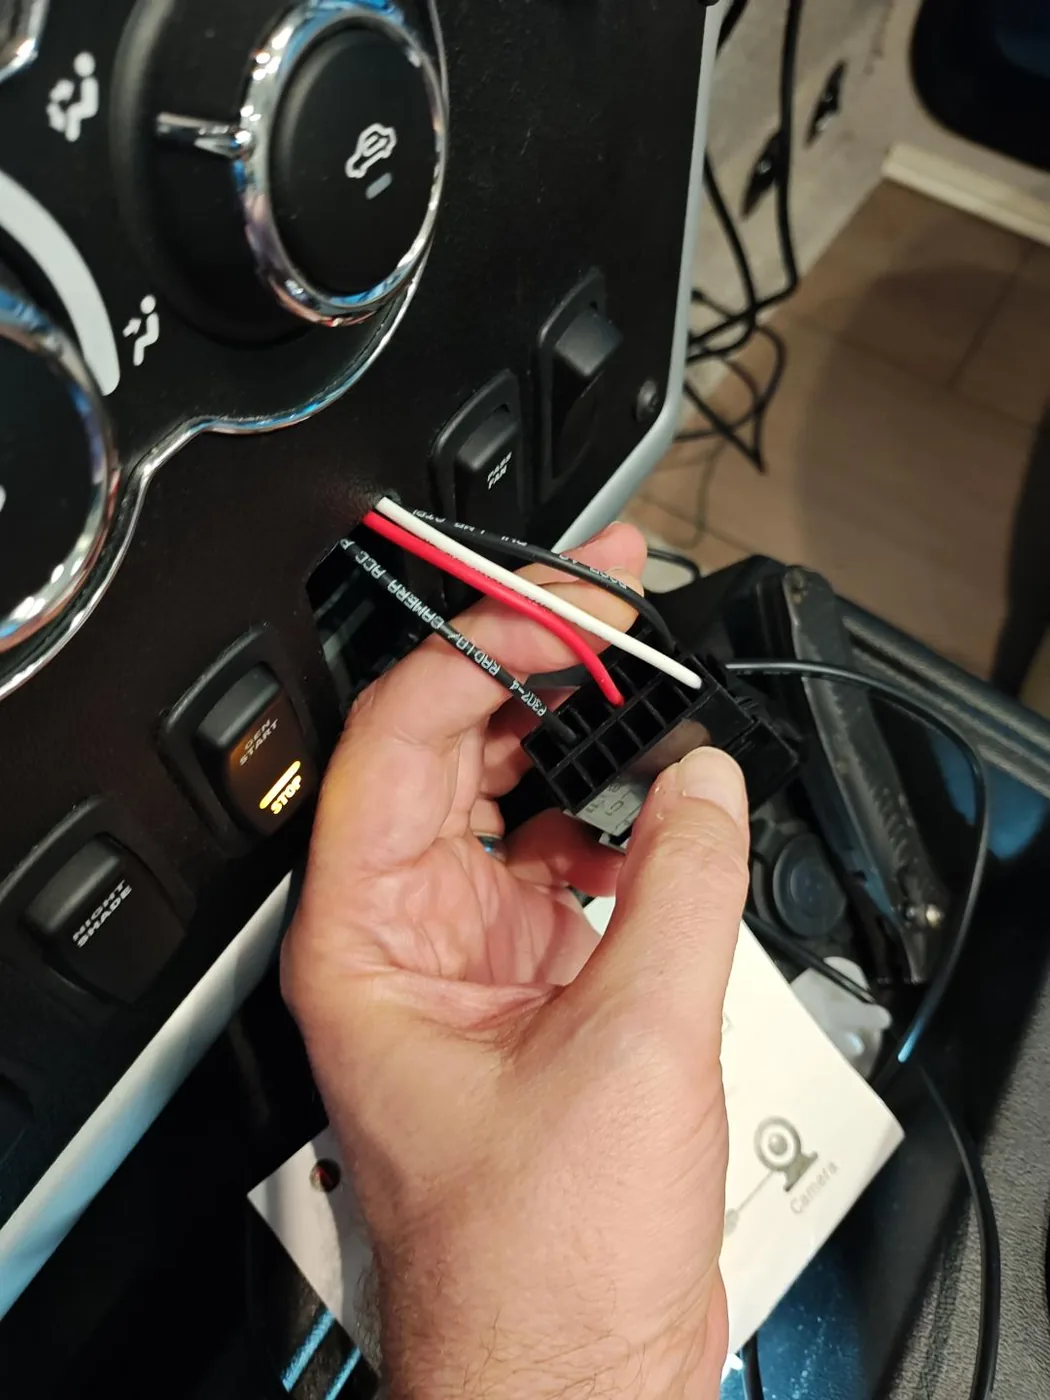
Fortunately, I remembered that the Garmin has its own RADIO/CAMERA switch on the dashboard. The Garmin normally comes on with the ignition, but that switch also allows you to turn it on when the ignition is off.
That seemed like a good place to look.
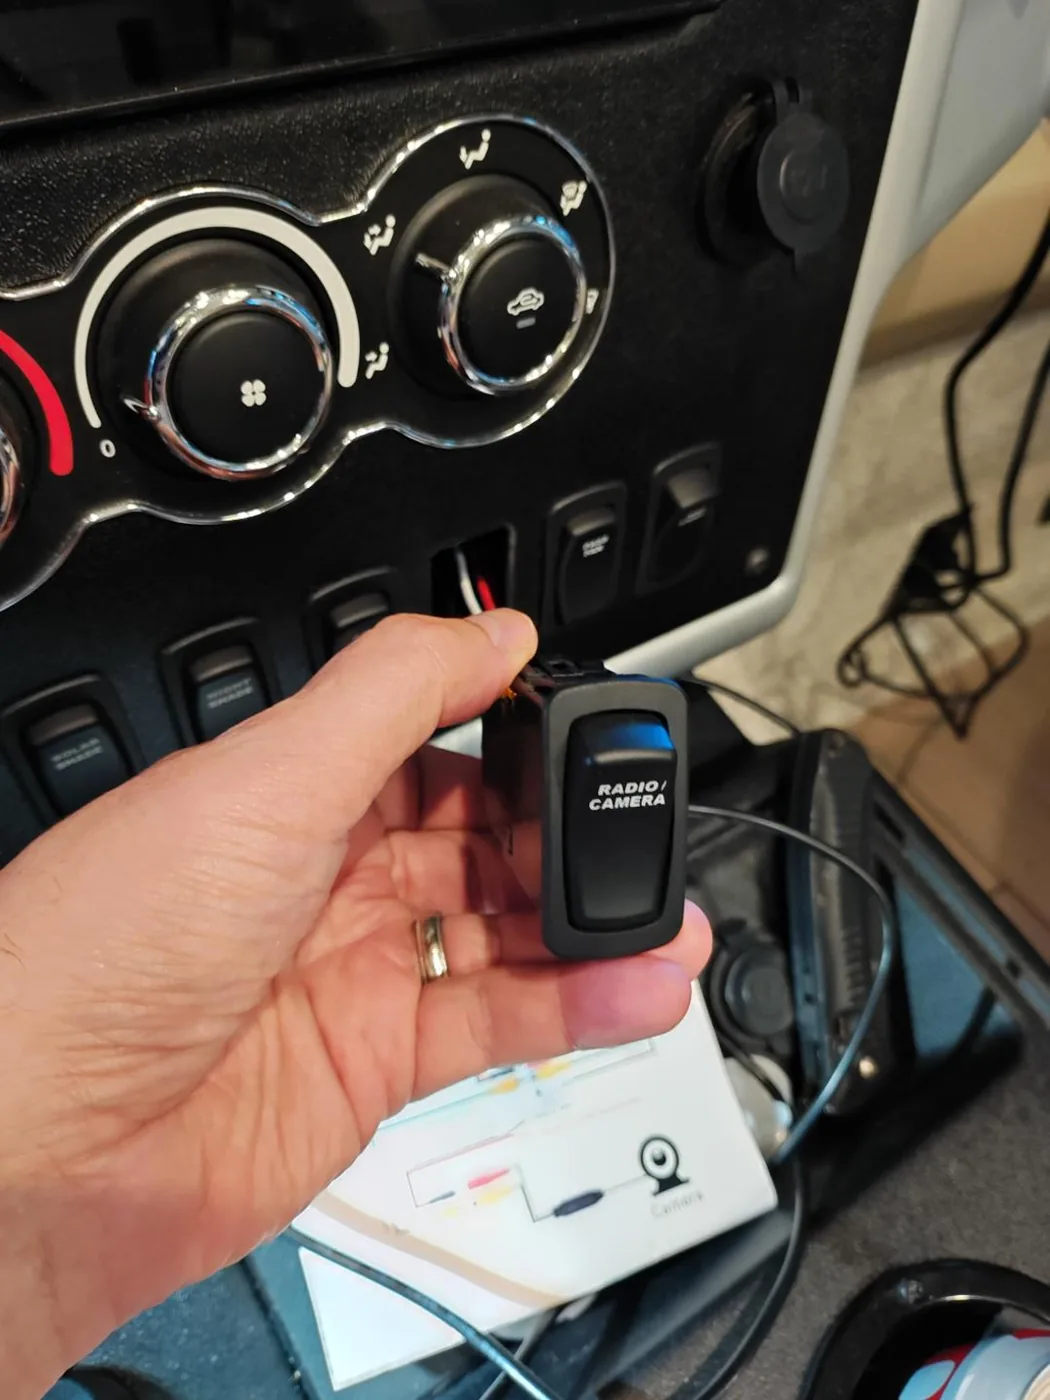
I pulled out my multimeter and investigated the wiring at the switch. I found a circuit that measured around 13 to 14 volts when switched on and zero when switched off.
Perfect. I could use that circuit to power both monitors without adding another switch.
Installing the Monitors
I purchased two 4.3-inch color monitors that accept the existing NTSC composite video signals through RCA connectors.
Here's the monitor I purchased on Amazon.
I positioned them on top of the dashboard, just above the Garmin, where I can see them without looking away from the road nearly as much as I had to before.
I considered a few ways to mount them, including screws. In the end, I decided to use 3M VHB adhesive tape. It gives me a secure mount without drilling holes in the dashboard.
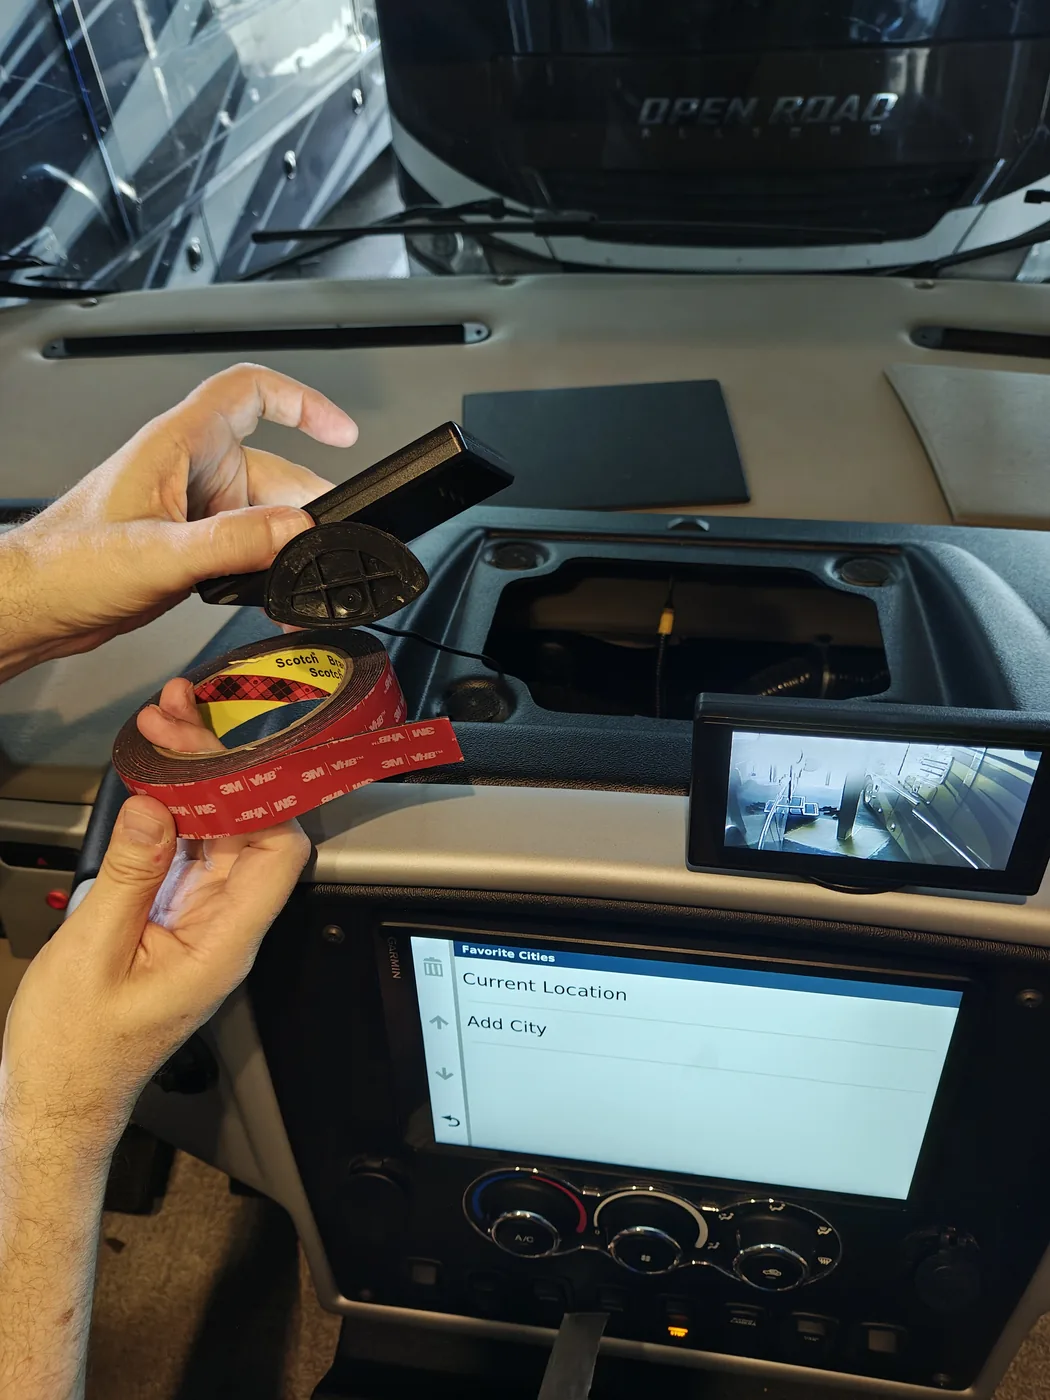
The existing RCA video cables plug directly into the monitors, and the power comes from inside the dash. The connections are now much easier to access.
The Outcome
I ended up solving all four of my original problems.
- The cameras are always visible. I can see both sides of the motorhome while it's running, without turning on the blinkers.
- The navigation display stays on. The Garmin no longer has to switch away from navigation to show the side cameras.
- The connections are secure and accessible. No more reaching behind the Garmin to reseat difficult RCA connections.
- The monitors are where I want them. They're mounted above the Garmin and positioned for much better visibility while driving.
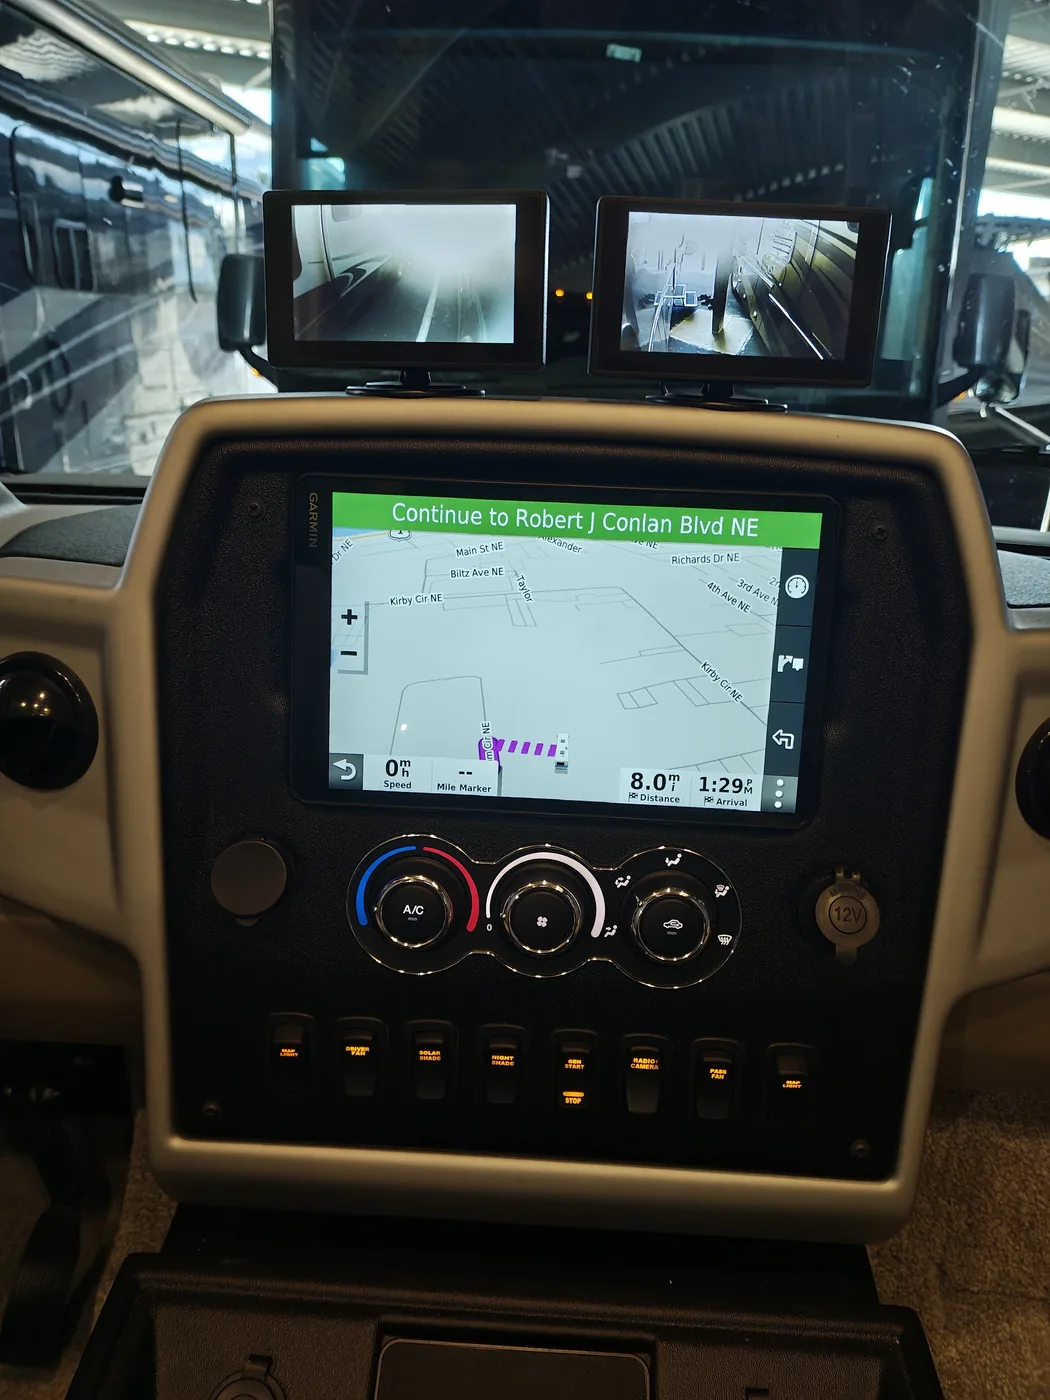
Both side cameras are visible, and the Garmin is still showing navigation. Exactly what I wanted.
And the total cost was just $38.
What I'd Do Differently
Two things.
First, I should have worked through the design more carefully before ordering parts.
I originally purchased the wireless transmitters, receivers, and adapters. The total was $195.
The final design cost $38, using VHB tape and electrical supplies I already had.
That means I had to return $157 worth of parts!
Second, I made a mistake when connecting the power.
When I found the RADIO/CAMERA switch, I measured approximately 14 volts across two wires when the switch was on and zero volts when it was off.
I assumed the white wire was positive and the black wire was ground.
Bad assumption. I had them backwards.
Fortunately, as soon as I connected the monitor, I felt the power cable getting hot and immediately disconnected it.
I should have verified the polarity with the multimeter before connecting anything. I know better than that, and I'll remember it next time.
Summary
Anyway, another successful Tiffin project!
The side cameras are now useful all the time, the navigation system stays visible, and the monitors are positioned where I can actually use them while driving.
I think this will make the Tiffin easier and safer to drive.
And the best part is that I got there by removing complexity instead of adding it.