Okay.... I just finished a different hike and I realized that I completely forgot to blog about this hike. To catch you up, I ended up NOT hiking the Georgia section of the AT in early October as I had originally planned. There was a tropical storm that blew through the area so I had to cancel. I still wanted to hike, though, with my daughter, Katie, and her boyfriend, Miguel. So, we selected the Art Loeb Trail in NC because it is shorter. Little did we know, the Art Loeb Trail is one the most difficult trails in North Carolina. We took a shuttle from Davidson River to Daniel Boone Boy Scout Camp.
Getting Started on the Art Loeb Trail
Day 1: Daniel Boone Boy Scout Camp to Deep Gap: 4 miles
We started this hike at the Boy Scout Camp where I actually went one summer with my oldest son, Bobby. We hiked the first 3.8 miles and it was dark by the time we got to camp.
Art Loeb Trail Section 1Setting Up Camp the First Night
Day 2: Deep Gap to Gloucester Gap: 14 miles
We got an early start on day 2. Hiking through the Shining Rock Wilderness is difficult to navigate due to the intention lack of trail markings. We were vigilant and used a GPS when necessary.
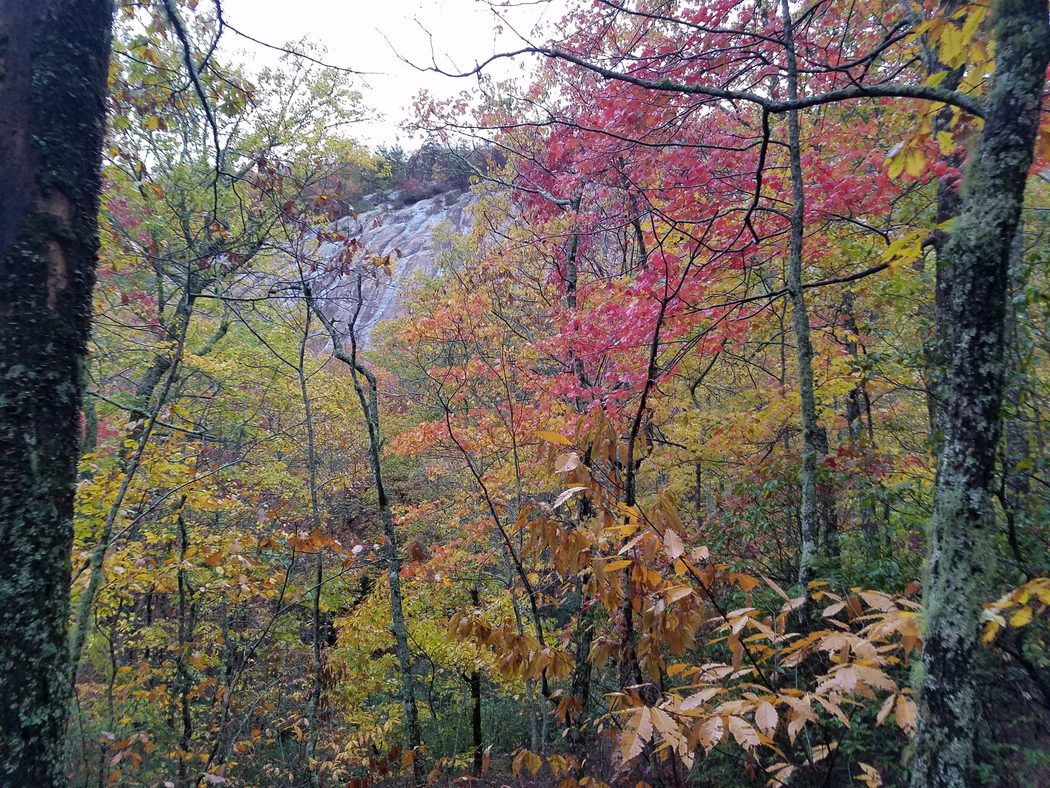
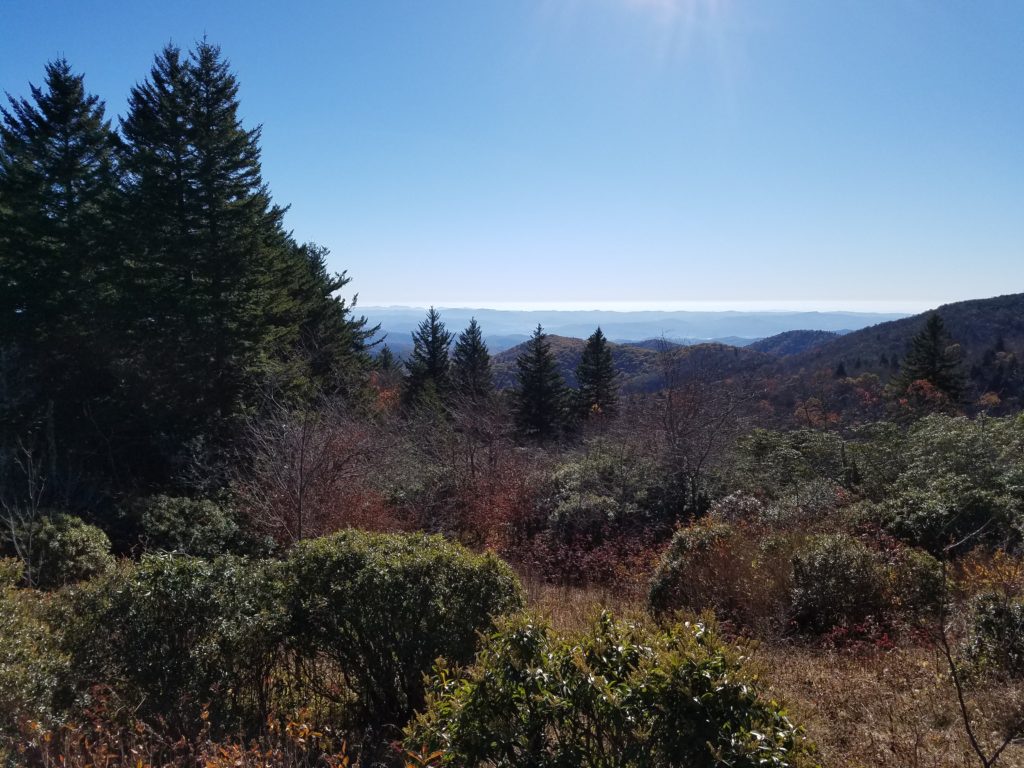
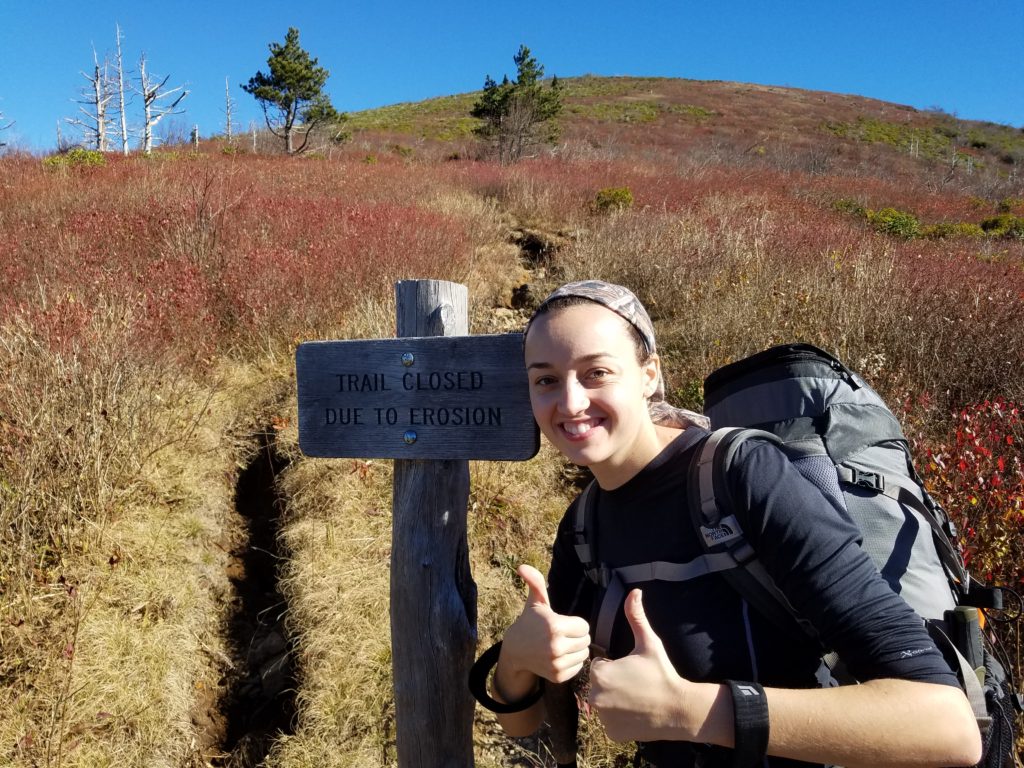
There was a big storm coming within 24 hours with 100% chance of rain and high winds. We decided to push on to Gloucester Gap by going over 14 miles to get as close as possible to the shelter in butter gap. When it became too dark to hike safely we stopped about four miles from the Butter Gap Shelter. The views were beautiful, but this was some of the most strenuous hiking I have done in recent memory. Check out the videos and pictures below to get an idea of how beautiful, and difficult, this trail is.
Note that when Hiking through the Shining Rock Wilderness a bear canister is mandatory. See a picture of the sign below:
Bear Canister Required
Day 3: Weathering the storm at Butter Gap Shelter: 4 miles
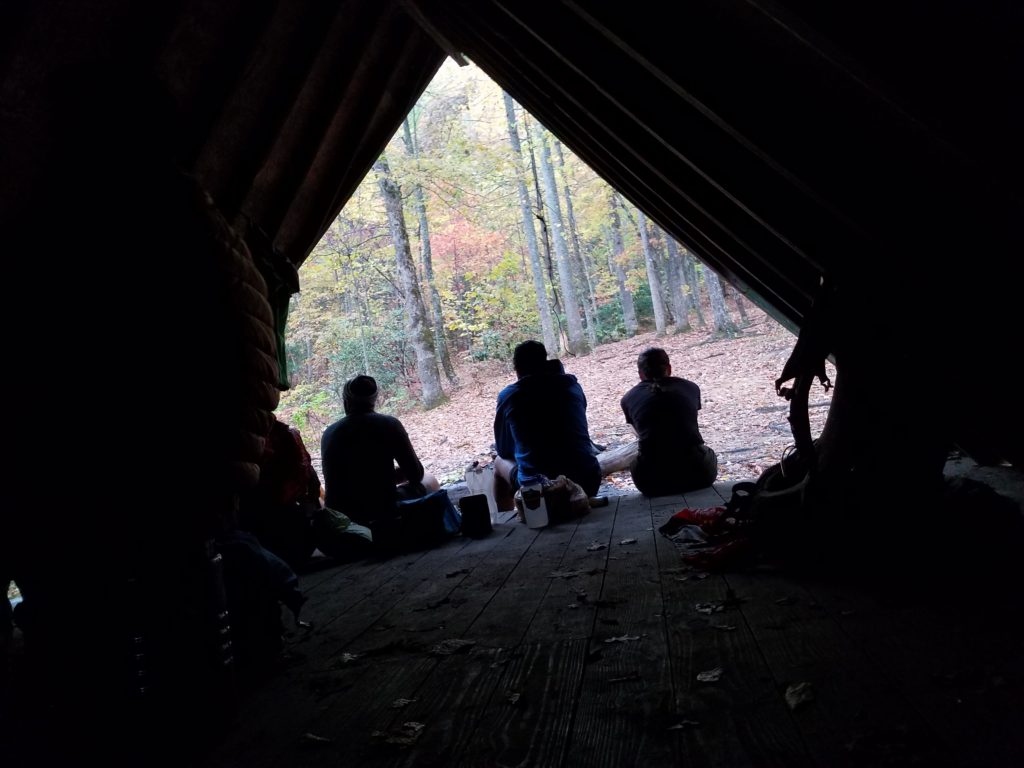
We got up early on day 3 to cold rain and started the four mile hike over multiple mountains to Butter Gap Shelter. We got to the shelter and stayed there for 23 hours to weather the storm. It was a great chance to rest up!
Day 4: Butter Gap Shelter to Davidson River: 8 miles
On day 4 we got an early start and hiked back to the truck. The air was wonderful after the rain and the views were stunning.
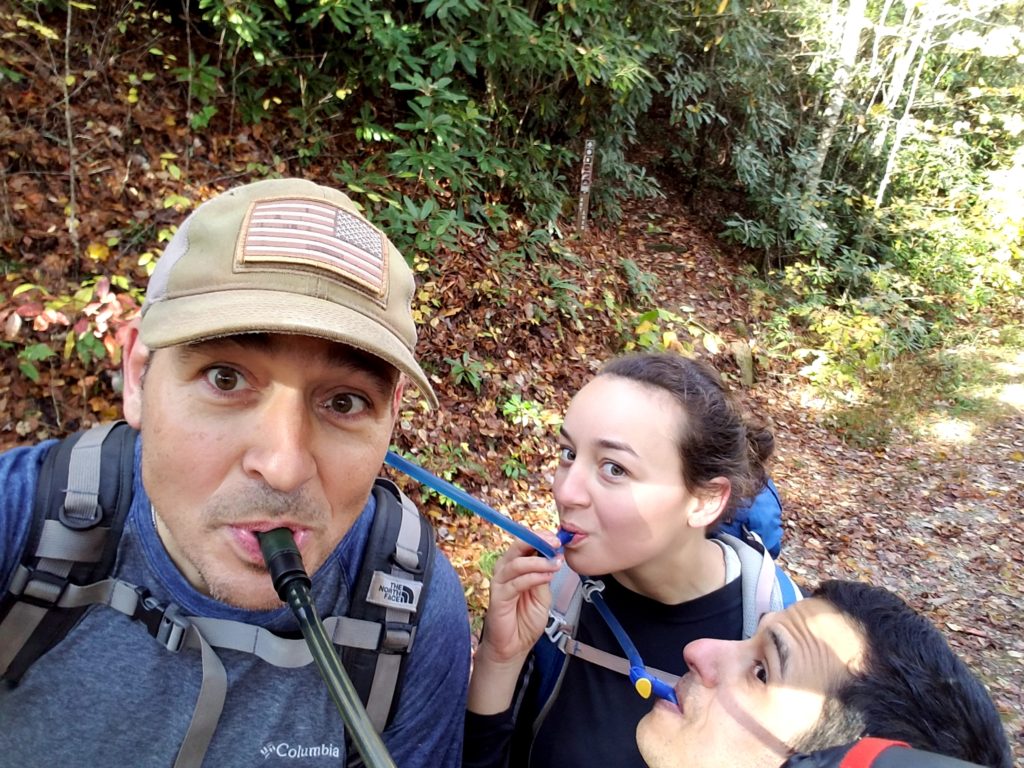
We swapped packs, but we didn't swap camelbacks:
Summary: I think the Art Loeb Trail is one of the most beautiful on the east coast of the US. However, it is also one of the most difficult so make sure you are ready for it!
My time as a machine gun team leader in the USMC infantry carrying sixty to eighty pounds of weapons and gear over incredible distances, developed in me a very dangerous muscle memory. As my wife often points out, “Remember, you are very capable of hurting yourself.”
My Situation
I have severe arthritis in my spine for which I take an immunosuppressant to block inflammation. As long as I stay on the medication I can walk unassisted and I am typically able to function fairly normally with periods of exacerbation that are moderately limiting usually only toward the end of a medication period. When I turned fifty, I decided that I would push myself to make sure I still have what it takes to be US Marine.
The Trial Hike
I packed a backpack full of forty-seven pounds of gear and supplies and headed out on a slow, but steady, thru-hike of the seventy-seven mile Foothills Trail. “Foothills” makes it sound easy, right? Wrong! There is actually a section of that trail called “Heartbreak Ridge.” To make a long story short, about one day into the hike my back started to flare up which had a domino effect of causing my pulse to race, which caused me to lack the extra cardio capacity to climb the hills, which caused me to overexert myself, which caused me to feel nauseated, which caused me to not eat, which meant I was low on energy without enough calories. I ended up breaking a cliff bar into 100 pieces and swallowing one little piece whole at a time. That is an example of how I had use brain rather than brawn to make it the distance.
So, if I told you that I intended to hike the entire 2200 miles of the Appalachian Trail, you would probably say that I am crazy. Before you judge me, keep reading to see what I learned on my FHT hike:
Lessons Learned
Just because I could easily carry a sixty to eighty pound pack in my 20's means nothing now. I can't carry any more than 35 pounds without causing my arthritis to flare. On the FHT I carried 47 pounds.
I am going to lose weight rapidly as I hike so I have to limit my hike to less than 100 miles. On the FHT I lost 15 pounds in 7 days.
I need to pack foods that help me fight nausea. On the FHT I packed foods that CAUSE nausea.
I need to start the hike the day after an injection and NOT a week after (like I did on the foothills trail).
I can't hike more than 12 miles per day. On the FHT, I had days as high as 15 miles.
My Plan
I am going to fully embrace those lessons learned and hike the Appalachian Trail at the rate of approximately 100 miles per year and finish when I am 73 years old. As I said it is the hike of a lifetime.
I am starting soon and I will blog when I get back. Here is how I am applying what I learned to my Appalachian Trail hike:
My total pack weight with 6 liters of water is 34.4 pounds!
My 2017 stretch of the AT is 86.1 miles.
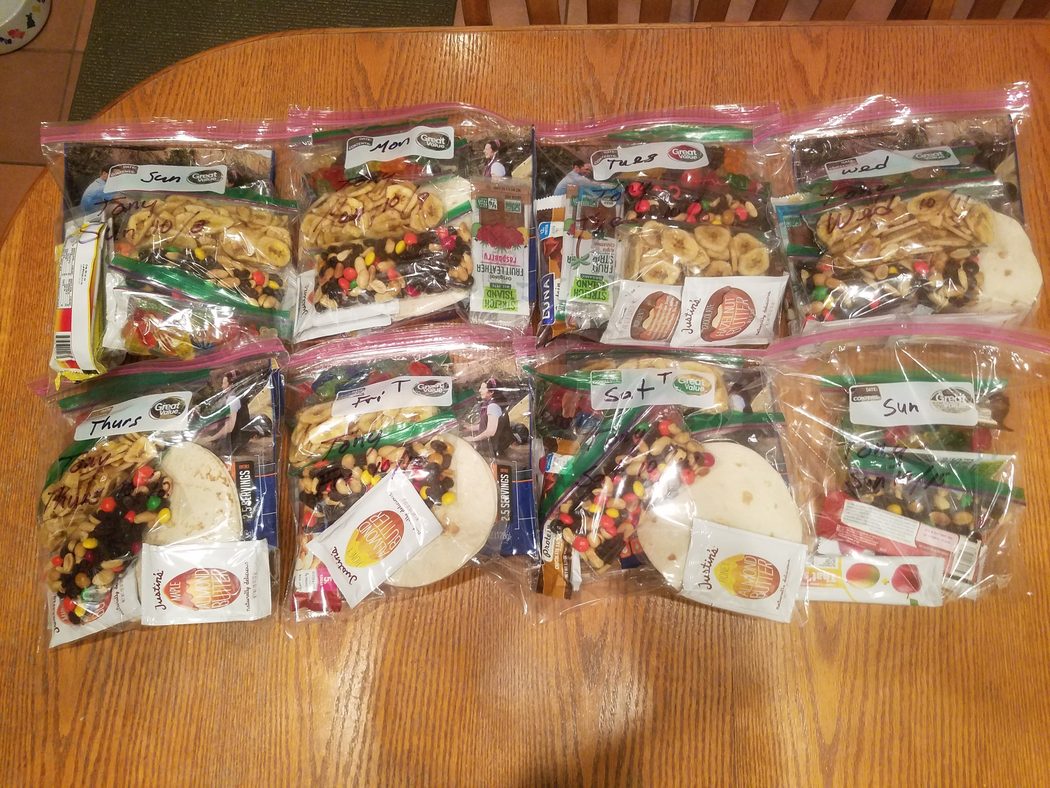
I am bringing a variety of foods that will help with nausea.
Human Impact: Heavy impact due to proximity to Gainesville, FL
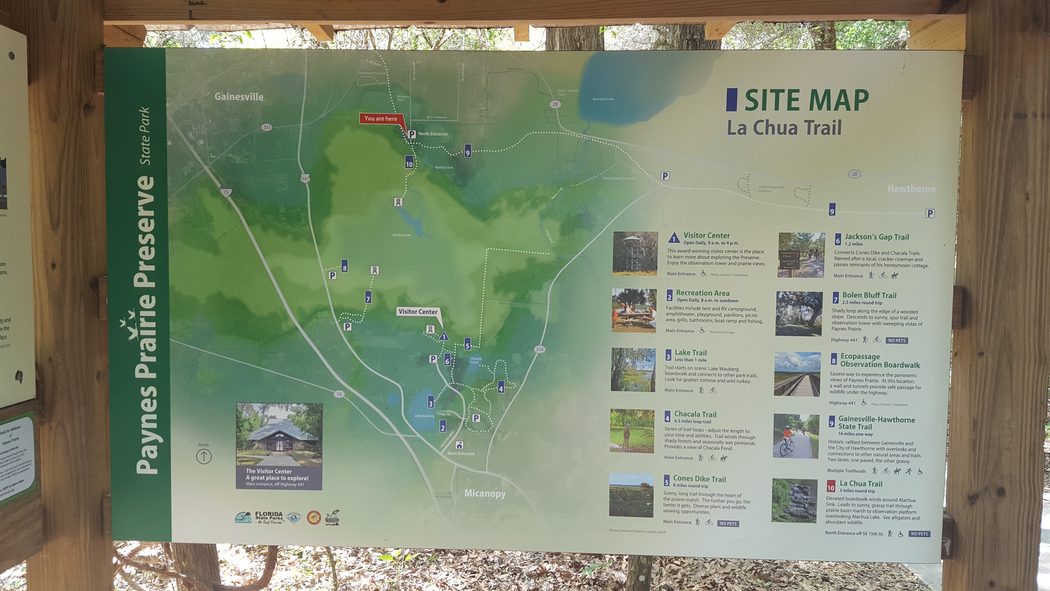
Location: Paynes Prairie, FL
Start: La Chua Trail parking lot
End: La Chua Trail parking lot
Dates: April 9, 2017
Getting Started
Becca (my wife), Bobby (my eldest son), Katie (my daugher), Miguel (Katie's boyfriend), Stevie (my 2nd son), and I hiked this very easy, but very interesting trail. The interesting part is that you can get VERY CLOSE to nature. The hike is an out-and-back that goes from the self-pay parking lot, out to an observation tower, and back. Parking costs $4.00 per vehicle on an honor system. Full disclosure on this hike is that you can get way closer to alligators than some people would feel comfortable. However, the wildlife on this hike is amazing. Here are some of the highlights:
Wild Horses
Wild horses roam free and even walk on the trail with you. We saw several colts.
La Chua Trail Wild Horses #1La Chua Trail Wild Horses #2
Alligators
There were many many large alligators. One of the park rangers told us that there has been a recent rash of cannibalism. In fact, right before we arrived there one alligator had just killed another and was eating it as we watched. Note this is NOT like Bass Pro because there is no fence between you and the gators.
La Chua Trail Alligator
Here is a picture of Wild Horses and an alligator in the same picture!! If you increase the size of the picture you can see the alligator in the middle.
La Chua Trail Wild Horses and Alligator
In the picture below you can see a lot of alligators basking in the sun on the bank.
La Chua Trail Alligators Basking
Bison
We could see Bison off in the distance from the observation tower. We took this picture from our monocular.
La Chua Trail Bison #1La Chua Trail Bison #2
Armadillos
On the hike out there was an armadillo on the trail. It did not seem at all afraid of us.
La Chua Trail Armadillo
I met my son (Bobby), my daughter (Katie), and Katie’s boyfriend (Miguel) for a very scenic hike of the Aucilla River Section of the Florida Trail. The “kids” live in Gainesville, FL so I met them there and we caravanned to the Southern Trailhead where we left my truck. We then drove to the Northern Trailhead and hiked south from there.
The Aucilla River Trail Crew
Northern Section
We started out hiking down an access road. We missed the first trail marker and ended up hiking about a mile out of the way. However, once we got onto the actual trail the orange blazes were easy to follow. The only time it was at all difficult was at the very beginning when we were hiking through some controlled burn areas and some of the orange blazes had turned white. Once we realized that, it was not a problem.
Aucilla River Controlled Burns
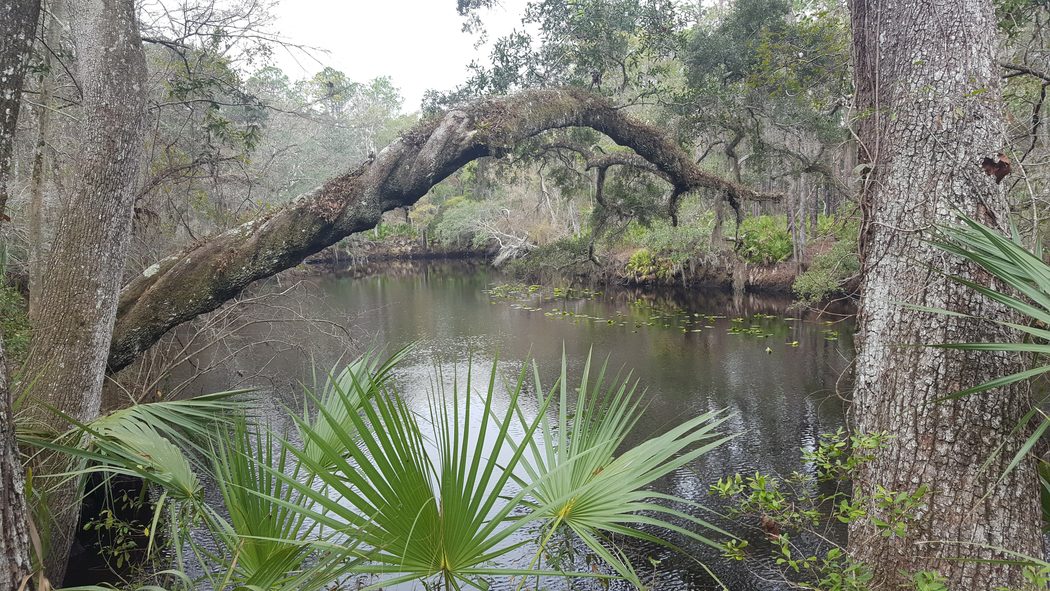
The Northern Section primarily follows the winding Aucilla river. There are some beautiful views of the river and you are rarely ever far from the river.
Beautiful Views of Aucilla River
About half way through the first day we came to some rapids that seemed bigger than other rapids I have seen in Florida.
Aucilla River Rapids
One of the landmarks you will pass along the way is Burnt Bridge. You can't miss it.
Burnt Bridge on Aucilla River
We decided not to camp at the South Aucilla River Camp Site. That camp site was quite littered with beer cans and paper. Needless to say we moved on up the trail to a cleaner campsite.
Aucilla River Camp Site
Southern Section
The next morning we got a late start because we only had 6.4 miles to go. This is where it really starts to get interesting. The river actually disappears under ground. We saw a large beaver here making its home in the driftwood and debris. Note there is a lot of trash that floats down the river and collects here. We marked this site mentally for a possible future cleanup.
Aucilla River Disappears
Hiking the South section of the trail there are many many places where the river reappears, called "sinks." We lost count of the sinks and the scenery on this section of the hike makes the hike worth it. Here are some noteworthy pictures.
Typical Aucilla SinkPalm Tree Growing In SinkA Large Aucilla SinkLilly Pads on an Aucilla Sink
The Aucilla Sink Campground is really nice. There is even a bench there!
Aucilla Sink Camp Site
After leaving the Aucilla Sink Camp site we hiked through some beautiful pine tree and palmetto forest.
Aucilla River Forest
The End
We got back to my truck around noon on the second day. This was a good hike. We ended at Longsuffering Road. Hilarious!
Ending at Longsuffering Road!
Many thanks to Rick and Brenda Harris for this excellent article that inspired us to take this hike: http://www.cherokeehikingclub.org/special%20aucilla.htm


 Note that when Hiking through the Shining Rock Wilderness a bear canister is mandatory. See a picture of the sign below:

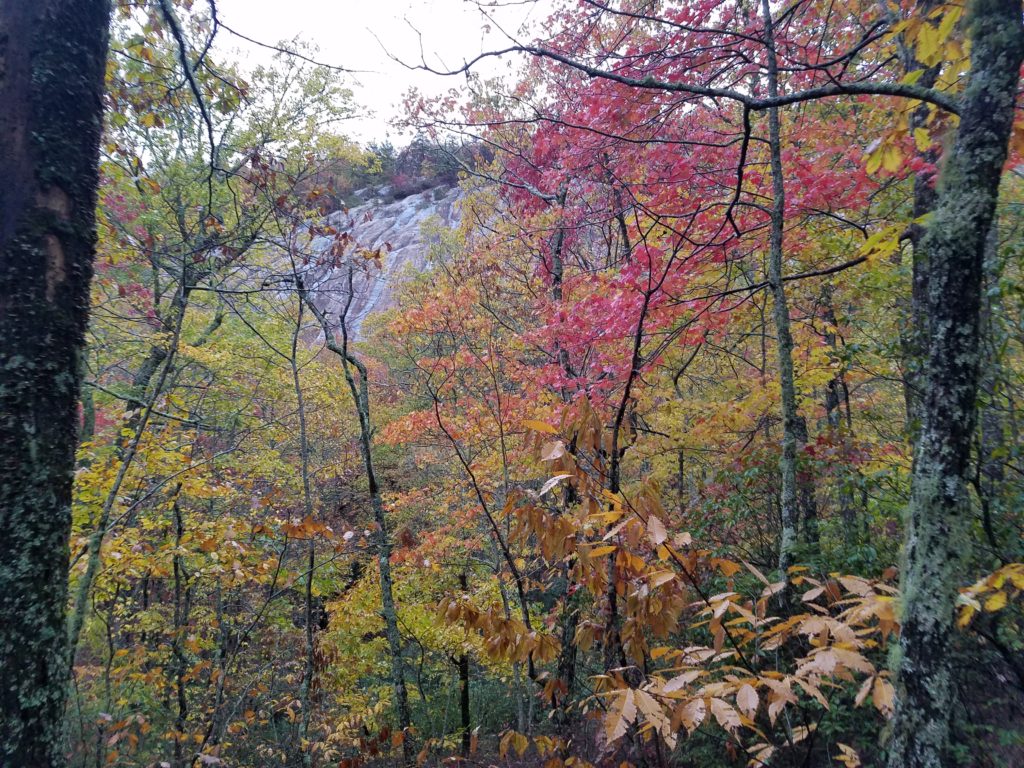
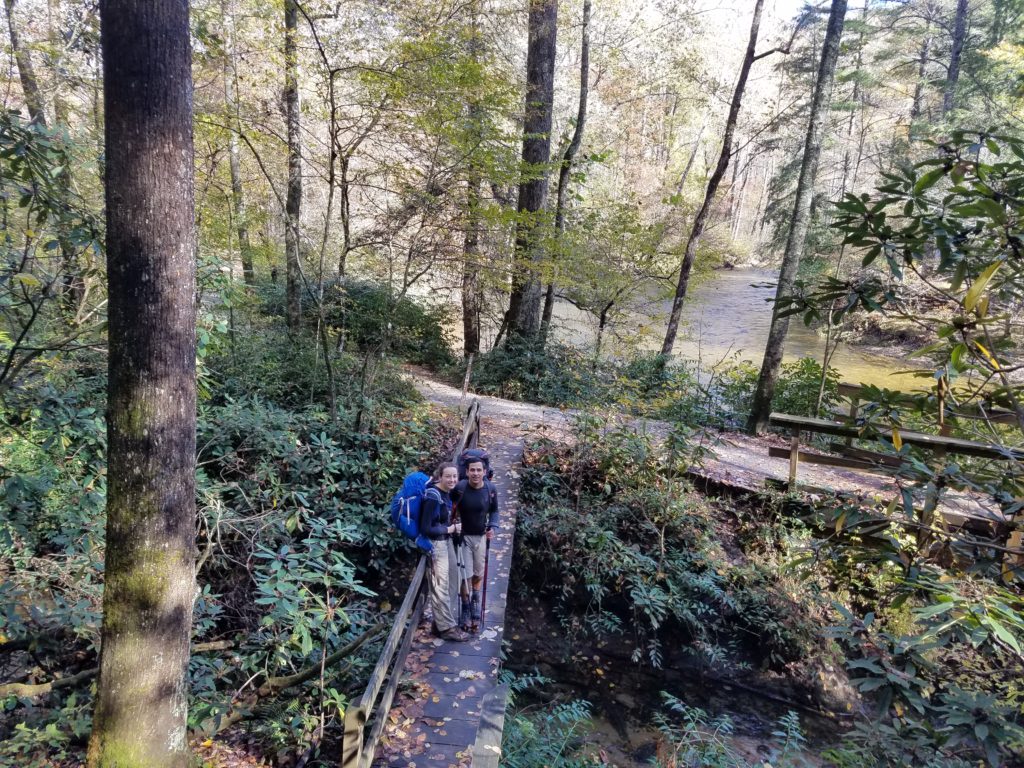 Summary: I think the Art Loeb Trail is one of the most beautiful on the east coast of the US. However, it is also one of the most difficult so make sure you are ready for it!